

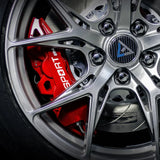
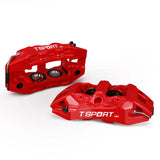


鍛造四活塞卡鉗
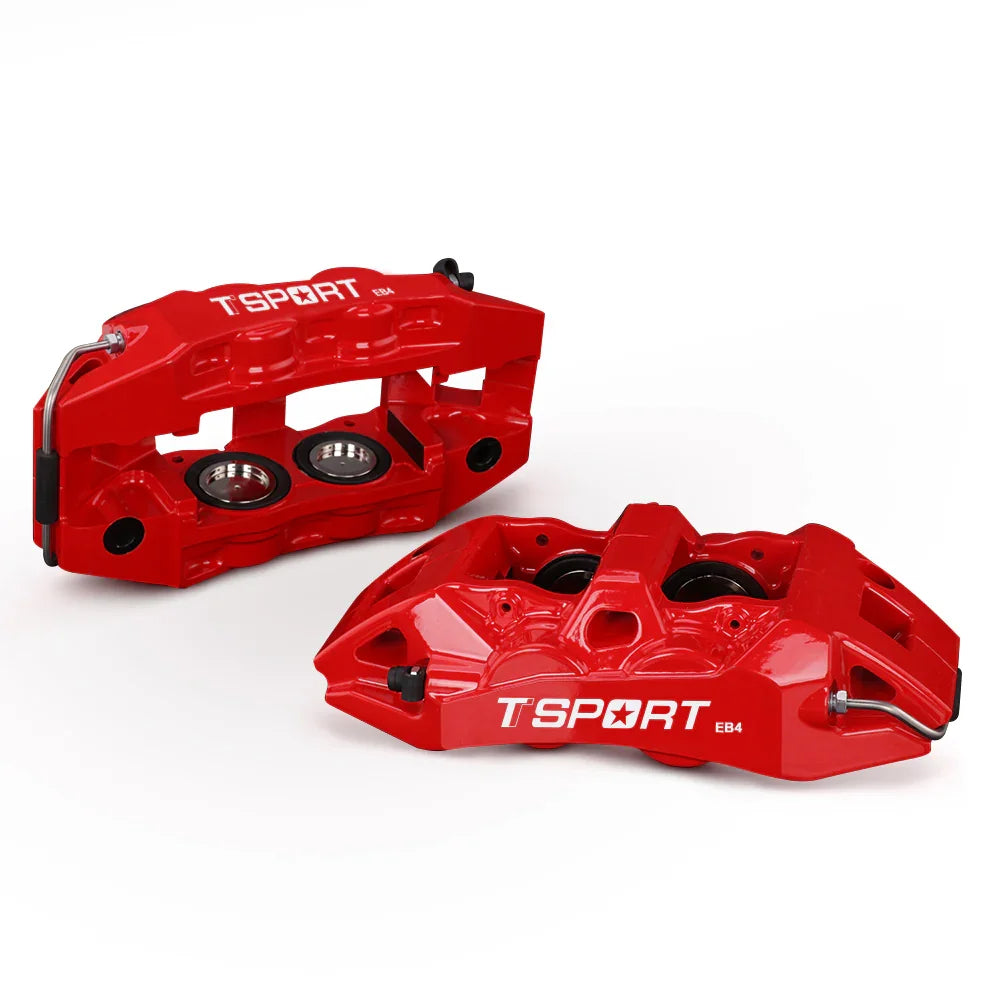
兩片式鍛造鋁合金本體,搭配 40 mm 與 44 mm 的階梯式活塞。階梯式孔徑配置有助於來令片受力均勻,並在連續長距離煞車時減少斜偏磨損。
Evolution 系列 · 前軸 · 平台適配 BBK
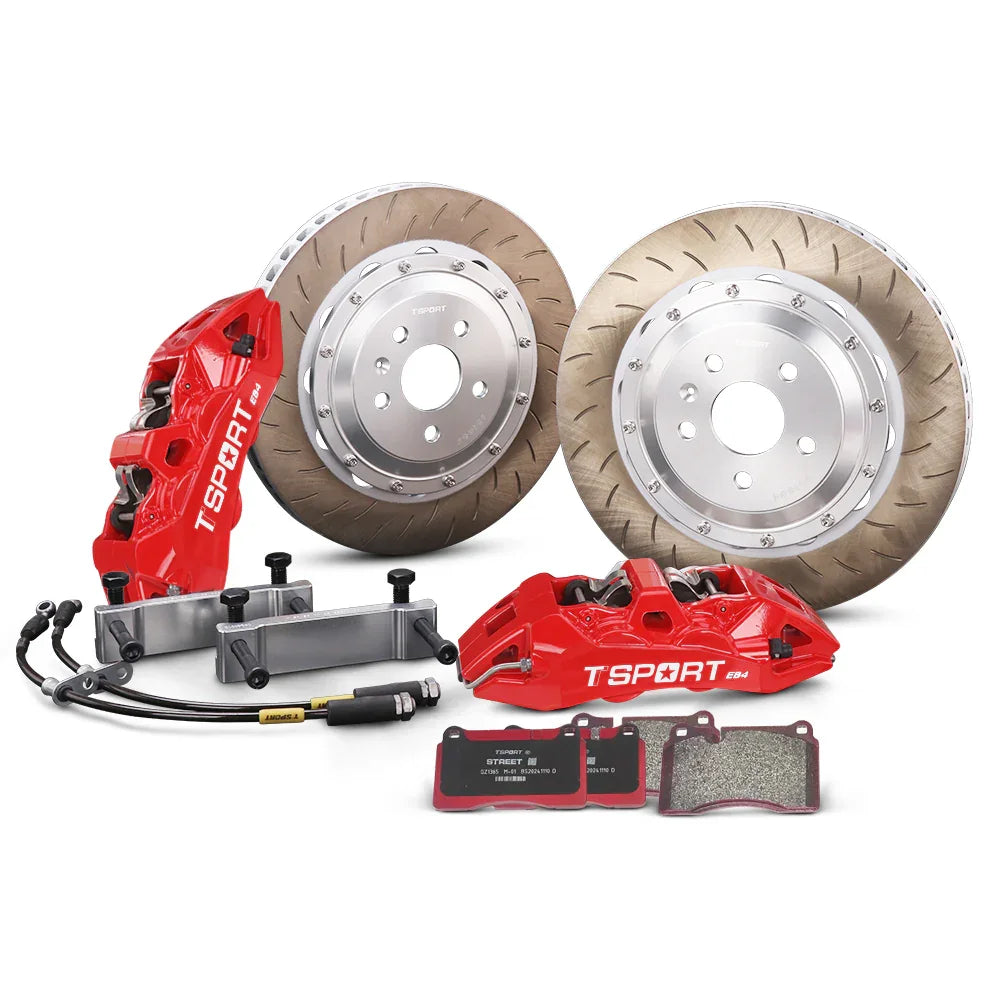
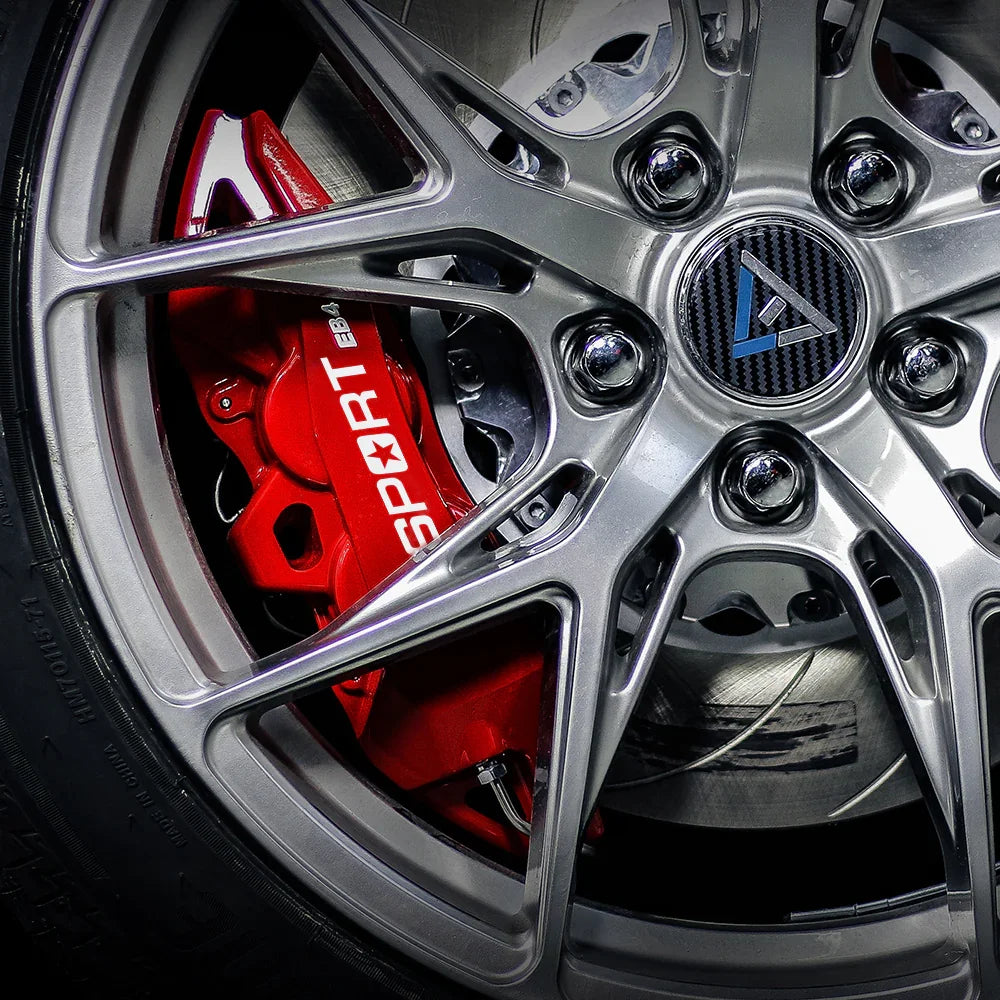
TTSPORT Evolution EB4 是一款前輪四活塞大煞車套件,專為想要更強勁、更易掌控的街道與山路煞車配置,又不想升級到過大的純競技系統的駕駛者所設計。鍛造卡鉗、大型兩片式碟盤、匹配來令片與金屬編織煞車油管相互搭配,帶來穩定的制動咬合、可重現的踏板回饋,以及更佳的散熱管理。
兩片式鍛造鋁合金本體,搭配 40 mm 與 44 mm 的階梯式活塞。階梯式孔徑配置有助於來令片受力均勻,並在連續長距離煞車時減少斜偏磨損。
附防塵套的兩片式活塞可減少熱能傳導至煞車油,有助於在激烈或反覆煞車時維持踏板回饋。
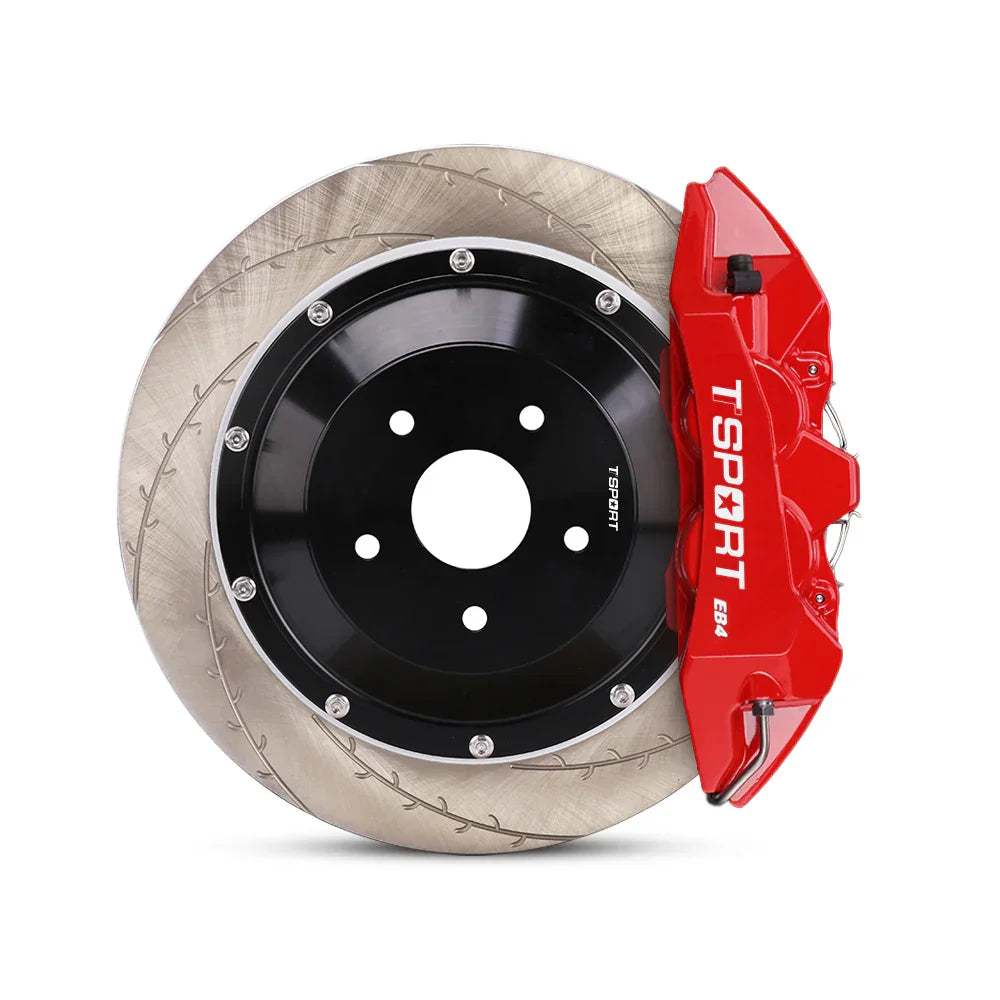
Ø355 mm 或 Ø380 mm × 32 mm 內通風碟盤,搭配 CNC 加工鋁合金中心盤。相較於一般原廠前碟盤,擁有更大的質量與通風面積,提供更高的熱容量。
可選用熱處理高碳鑄鐵碟盤以滿足街道性能需求,或選用碳陶瓷碟盤以減輕非簧載質量並提高耐熱上限。
| 煞車卡鉗 | ||
|---|---|---|
| 系列 | Evolution 系列 | |
| 型號 / 適用車型 | EB4 | |
| 安裝軸位 | 前輪 | |
| 活塞數量 | 4活塞 | |
| 活塞類型 | 兩片式隔熱活塞,附防塵套 | |
| 活塞直徑 | 40 mm × 2 / 44 mm × 2 | |
| 活塞總面積 | 每個卡鉗 55.5 cm²(所有活塞合計) | |
| 卡鉗尺寸 | 長 289 mm × 寬 151 mm × 高 83 mm | |
| 製造製程 | 兩片式鍛造鋁合金本體 | |
| 淨重 | 每個卡鉗 3.80 kg(不含來令片) | |
| 表面處理 | 高溫亮面塗層 | |
| 建議輪圈尺寸 | 18 吋以上 | |
| 建議碟盤尺寸 | Ø355–380 mm × 32 mm | |
| 煞車碟盤選項 | ||
| 碟盤選項 | 鑄鐵碟盤(標準) | 碳纖維陶瓷(選項 B) |
| 碟盤材質 | 熱處理高碳鑄鐵 | 碳陶瓷複合材質 |
| 安裝軸位 | 前輪 | 前輪 |
| 碟盤尺寸 | Ø355 / 380 mm × 32 mm | Ø355 / 380 mm × 32 mm |
| 結構 | 兩件式組裝 | 兩件式組裝 |
| 通風設計 | 內通風式 | 內通風式 |
| 碟盤固定方式 | 固定式或浮動式(依尺寸與應用而定) | 浮動式 |
| 方向性設計 | 有 — 左右專用 | 有 — 左右專用 |
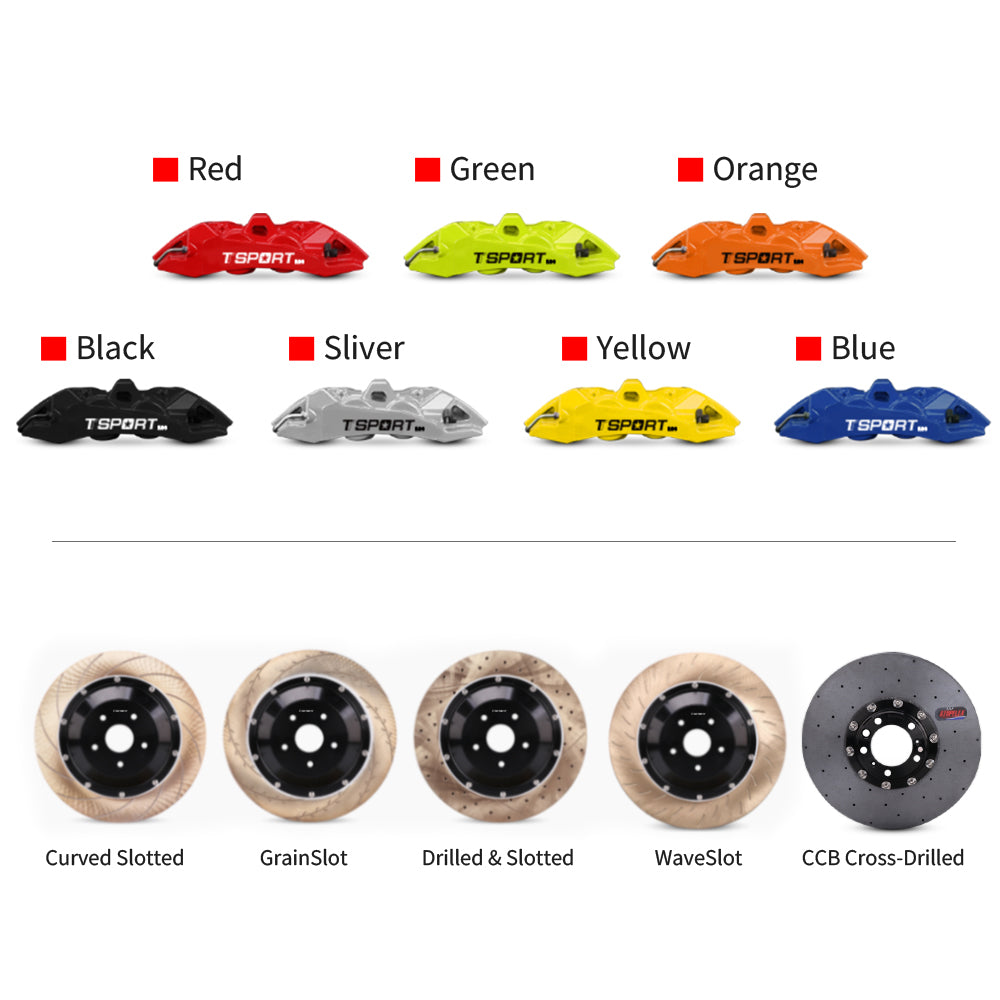
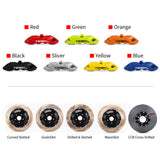
| 碟盤表面紋路 | 弧形溝槽/細溝槽/波浪溝槽/鑽孔與溝槽 | 鑽孔通風 |
| 來令片選項 | ||
| 來令片選項 | 適用於鑄鐵碟盤 | 適用於碳陶瓷碟盤 |
| 相容碟盤材質 | 僅適用鑄鐵/鋼製碟盤 | 僅適用碳陶瓷碟盤 |
| 工作溫度範圍 | 0–600 °C | 0–700 °C |
| 平均摩擦係數 | μ ≈ 0.38 | μ ≈ 0.45 |
| 煞車油管 | ||
| 煞車油管結構 | 三層結構 | |
| 煞車油管材質 | PTFE 內襯層/SUS304 不鏽鋼編織層/PVC 防護外鞘 | |
| 煞車油管接頭 | 卡鉗側與車身側皆採用車型專用接頭 | |
| 支架 | ||
| 碟盤帽製程 | CNC 精密加工 | |
| 碟盤帽材質 | 高強度鋁合金 | |
| 卡鉗支架製程 | CNC 精密加工 | |
| 卡鉗支架材質 | 碳鋼 | |
| 卡鉗安裝型式 | 徑向安裝,搭配車型專用支架 | |
| 車型適配 & 安裝 | ||
| 最小輪輻間隙 | 99 mm | |
| 建議輪圈尺寸 | 18 吋以上 | |
| 煞車油管接頭 | 依應用不同而異,分為卡鉗側與車身側 | |
| 磨合(開皮)程序 | 激烈操駕前必須執行 | |
摩擦係數會隨溫度、管路壓力與碟盤狀態而變化。來令片與碟盤材質必須匹配——切勿將鑄鐵規格來令片用於碳陶瓷碟盤,反之亦然。
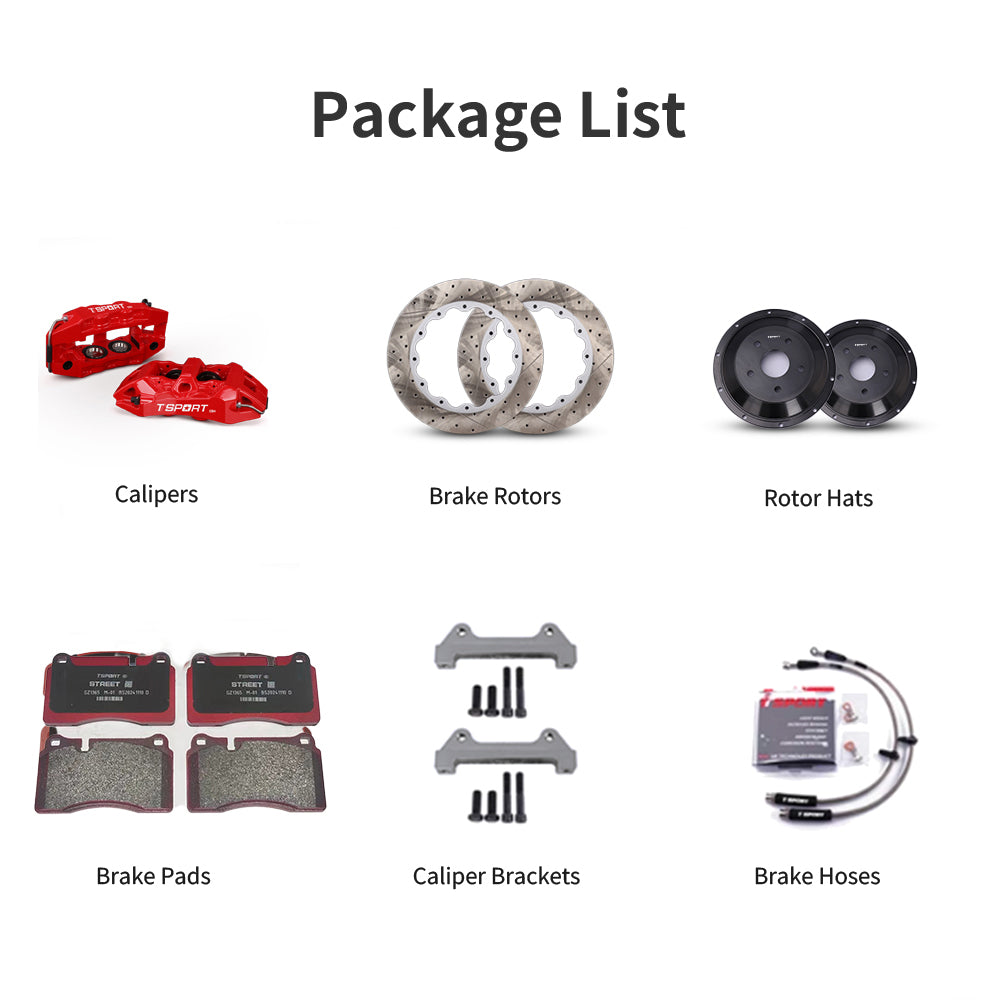
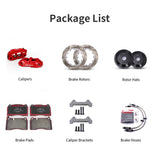
2 × EB4 鍛造 4活塞前卡鉗
1 組前煞車來令片,對應所選碟盤材質
2 × 兩件式前碟盤(Ø355 或 Ø380 mm × 32 mm)
2 × CNC 碳鋼卡鉗轉接座
2 × CNC 鋁合金碟盤中心盤
不鏽鋼金屬編織煞車油管,搭配車型專用接頭
內含安裝五金與磨合說明。
購買前請務必以您的實際輪圈確認輪輻、輪圈桶身與輪圈面的間隙。如需間隙樣板,可依需求提供。

建議使用 18 吋或更大的輪圈。

輪輻最小間隙:99 mm。

EB4 是依平台調校的大煞車套件。卡鉗轉接座、碟盤中心盤與煞車油管接頭皆依車型專屬製作。
輪圈桶身與輪圈面形狀也會有影響——安裝前請使用間隙樣板確認。
EB4 是依平台調校的大煞車套件。卡鉗轉接座、碟盤中心盤與煞車油管接頭皆依車型專屬製作。請透過我們的聯絡頁面提供年份、廠牌、車型、等級與輪圈規格,以便我們在訂購前確認安裝相容性。
建議使用 18 吋或更大的輪圈,且輪輻間隙至少 99 mm。輪圈桶身與輪圈面形狀也會有影響——安裝前請使用間隙樣板確認。
355 mm 相較多數原廠前煞車提供明顯升級,且旋轉慣量更低。380 mm 則在輪圈空間允許時,為更重的車輛或更激烈的操駕提供更高的熱容量與制動力矩。
經熱處理的高碳鑄鐵碟盤是大多數街道與熱血操駕的正確選擇。碳陶瓷可降低簧下重量並提升耐熱上限,但成本更高,且需搭配 CCB 專用煞車來令片。
是的。必須進行磨合,才能在碟盤上形成均勻的摩擦轉移層。省略此步驟會導致沉積不均、抖動,並降低制動咬合。
是的。每組套件均隨附不鏽鋼金屬編織油管、CNC 鋁合金碟盤中心盤,以及依您的車款對應的 CNC 碳鋼卡鉗轉接座。
需要確認安裝相容性、自訂卡鉗顏色,或非表列的碟盤表面紋路嗎?我們的團隊將為您的改裝配置專屬套件。
Brake Kits · Fitment · Installation · Care Guide
A brake kit is not just a pair of larger calipers. Calipers, rotors, pads, hoses, brackets, rotor hats, mounting hardware, brake fluid, wheel clearance, and bedding procedure all work together as one system.
This guide explains how to confirm the right TTSPORT brake kit before ordering, what to check before installation, and how to care for the system after installation.
Do not order a brake kit by vehicle name alone. The correct kit depends on the vehicle, axle position, wheel package, driving use, and brake system layout.
Wheel Clearance & Data Disclaimer: Technical fitment data applies strictly to rotor hats and mounting brackets—not wheel geometry. Wheel compatibility specs are provided for general reference only. Insufficient wheel clearance is not covered under warranty or data accuracy claims; if clearance is insufficient, wheel spacers must be added at the customer's discretion.
Different TTSPORT brake kit series use different hardware layouts. Always confirm what the kit includes before purchase.
Use direct-mount calipers and one-piece rotors where specified. These kits do not use rotor hats or caliper brackets unless the final product page clearly states otherwise.
Use separate friction rings and rotor hats. Hat offset, ring bolt pattern, hardware style, and rotor direction must be matched correctly.
May require bespoke brackets, rotor hats, brake lines, and engineering confirmation based on knuckle, hub, wheel, and competition use.
Require extra attention to wheel clearance, tire size, vehicle load, descent control, hose routing, and dust / water exposure.
Do not assume every brake kit includes the same parts. Package contents vary by product series, vehicle application, and final order configuration.
Before finalizing the order, review the kit specification carefully. Confirm the brake kit is matched to your vehicle and wheel setup, not only to the model name.
If any part is not listed in the final order or product page, do not assume it is included.
Inspect every component before installation. Do not modify, grind, drill, stretch, force, or space brake kit components to make them fit.
Safety: Brake kits affect braking force, hydraulic sealing, heat control, wheel clearance, and vehicle stability. Do not install the kit if fitment, torque, direction, clearance, or compatibility is unclear.
Correct installation is as important as the brake kit itself. A properly engineered kit can still perform poorly if installed with dirty mounting faces, incorrect torque, poor hose routing, or trapped air in the hydraulic system.
Verify caliper centering over the rotor and confirm even pad sweep across the friction surface.
Confirm left / right rotor direction if the rotor uses directional vanes or directional face pattern.
Check brake hose length and routing at full steering lock and full suspension travel. No twisting, rubbing, stretching, or kinking.
Check caliper-to-spoke and caliper-to-barrel clearance before road use. Wheel specs are for general estimation only—clearance issues are excluded from warranty/data claims and may require user-supplied wheel spacers.
Use the correct brake fluid type and bleed the system until pedal feel is firm and consistent.
Torque all brake hardware to the specified value. Do not reuse damaged, unknown, stretched, or corroded safety-critical fasteners.
Brake pads and rotors need a controlled bedding process before full performance is available. Bedding helps create an even transfer layer on the rotor surface, improving bite, pedal consistency, and vibration resistance.
Street pads, race pads, iron rotors, two-piece rotors, and carbon ceramic rotors may require different bedding procedures. Use the procedure supplied with the specific kit.
After installation and bedding, give the system a short break-in period before aggressive use. Pedal feel, pad contact, dust output, and noise may continue to settle after the first drives.
Brake kits need regular inspection, especially after track use, off-road use, towing, mountain driving, winter salt exposure, or any brake service.
Inspect pads, rotors, fluid level, and hose condition during normal service intervals. Prioritize quiet operation, smooth pedal feel, and even wear.
Check pad thickness, rotor surface condition, and fluid condition more often. Long descents create sustained heat even without track use.
Inspect for mud, sand, stone impact, hose abrasion, dust boot damage, and caliper contamination after trail use.
Inspect pads, rotors, fluid, and hardware before and after every event. Track heat shortens service intervals.
Check rear brake temperature, hydraulic handbrake behavior, pad wear, rotor cracking, and hardware condition frequently.
Use only compatible pads and approved bedding procedures. Inspect rotor surface condition carefully and avoid incompatible friction materials.
Do not continue driving if the brake system shows any of the following symptoms. Inspect the system or contact a qualified brake technician before using the vehicle again.
Send your vehicle details, brake kit series, wheel specs, driving use, photos, and any symptoms you notice. TTSPORT will help confirm fitment, installation checks, and the correct care path for your brake kit.
感謝您的訂閱!
此電子郵件已被註冊!